1st Week of Summer Programming is Complete
Can you believe we’re already one week done with summer break?! We had a great, first week of summer right here at the Ross Center. This past week we held open gym from 12pm-3pm, offered a free lunch from 1pm-2pm, and ran our first week of camp programming from 2pm-5pm.
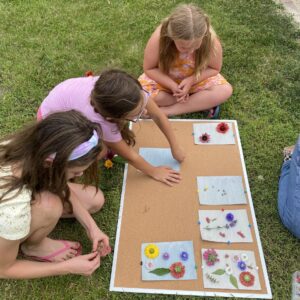
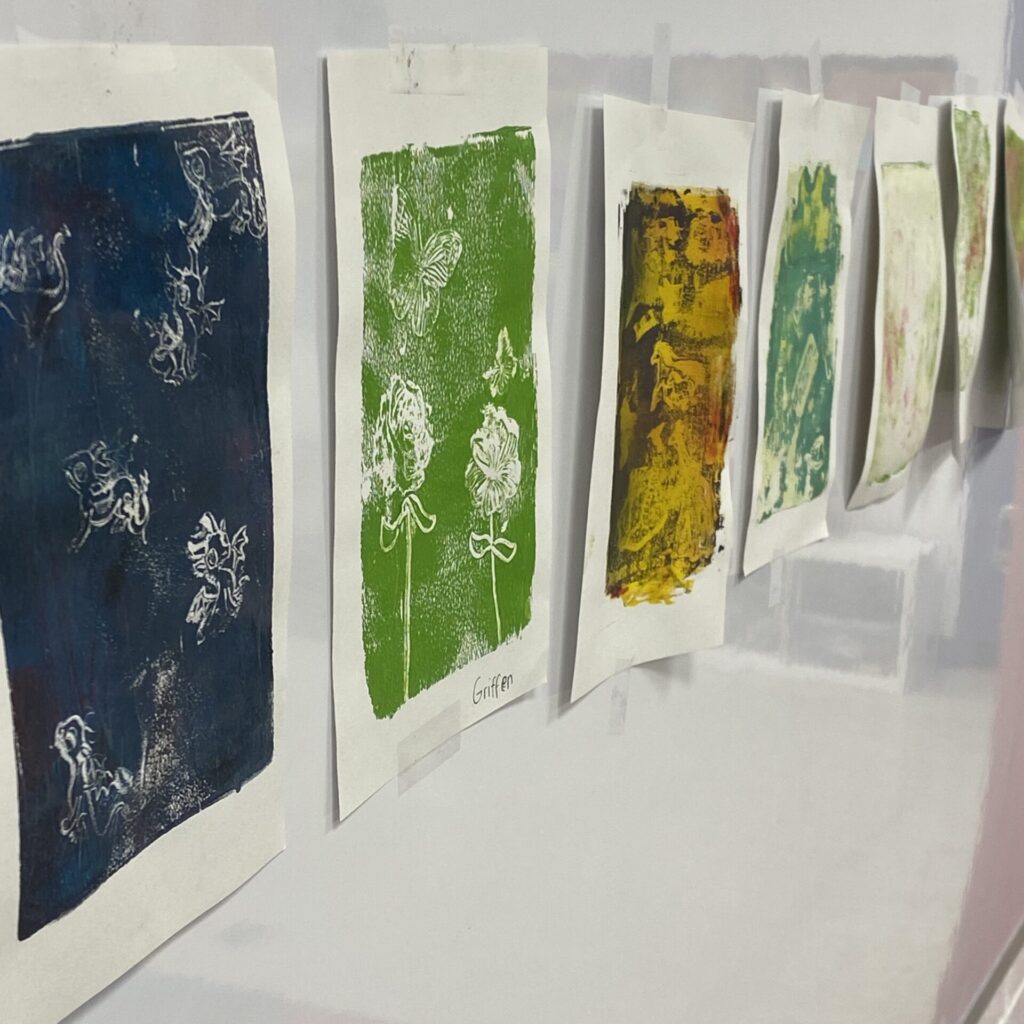
This past week’s summer program was Printmaking Camp! It was a busy week with many activities. On Monday, students learned how to use brayers, a printmaking tool that rolls ink onto a desired surface. The first surface used was a gelli (pronounced like jelly) plate. Students would apply ink, add desired textures and materials, and then transfer the design from the gelli plate on to a piece of paper.

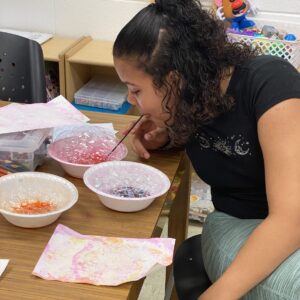
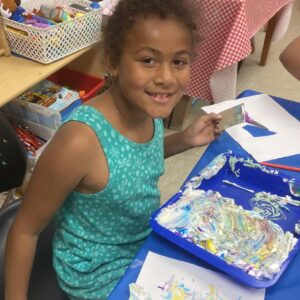
Tuesday, our students enjoyed making bubble prints and shaving cream marble prints. Both of these activities are easy DIY activities to do at home! With bubble prints, simply pour or make a bubble solution in a bowl or shallow dish. Then add desired color using food coloring or liquid water colors. Have your students use a straw to blow bubbles into the bubble solution, place the paper on the bubbles and watch the color transfer!
For shaving cream marbling, we used a shallow art tray, shaving cream, washable paint and cotton swabs. Add an even layer of shaving cream to a tray, or on a flat protected surface (such as wax paper or aluminum foil), drizzle desired colors of paint on top, and then use a cotton swab or other tool to swirl the paint in to the shaving cream. Place a piece of paper on top, smooth over the shaving cream, and then lift! You can then leave the print to dry, or scrape off the shaving cream for an even brighter design! (We used cereal cardboard squares as scrapers for this project).
The last two days were spent teaching the students how to create their own printmaking screen and creating their own relief prints on Styrofoam! We worked step-by-step learning how to make the printmaking screen and on the last day, got to use the screens to transfer their design onto their own tote bags! Then, with the relief prints, the students were challenged to design their own miniature cities, carve them into the Styrofoam, arrange their city onto a press, and then press their designs onto paper. We truly got to see our students creativity shine through all of the different printmaking projects this week and we were so glad to have them with us!